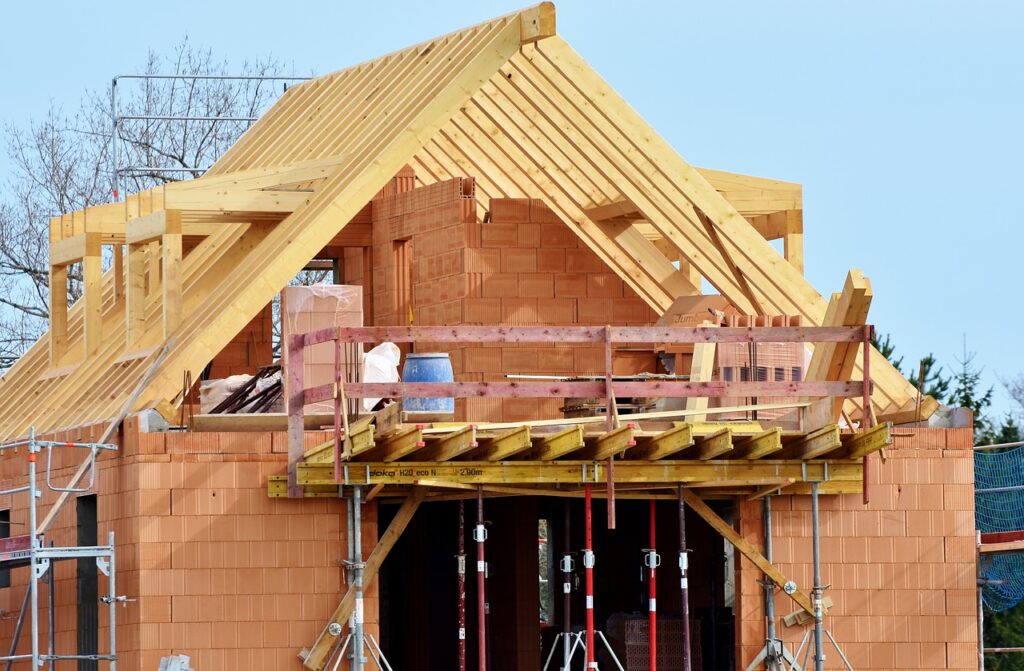
Are you searching for the most effective method to capture a time-lapse of a home being built? A time-lapse construction camera is an excellent tool for capturing video of a building job in progress. Although it seems to be complicated at first, it is effortless once you get the feel of it.
Professional house builders often use construction cameras who wish to document their work and by less experienced individuals filming their construction projects. Here are some of the advantages of owning one and the things you should keep in mind while filming a time-lapse of your home building.
Benefits of Using Timelapse
A time-lapse camera may be a handy tool for recording and evaluating any project you are involved in. It may assist in making it more efficient and decrease the amount of time required.
Using time-lapse videos in building projects may be very beneficial since they can depict the whole construction process from beginning to end. It enables you to keep an eye on the building site from anywhere in the world. Because of the built-in software, you may access the construction site from any location at any time.
When utilized as a communication tool, it may be shared on social media and streamed live at grand opening events. It adds value to the building documents you are creating. The work is not only shown, but it also serves to inspire your team and enables you to monitor real-time progression.
Things to Consider Before Time-Lapse Recording

If you wish to create a time-lapse video of your home’s development, you should keep the following points in mind:
Location
It’s critical to understand where the camera should be positioned before you start shooting. It is done for the camera to view the project well and to zoom in when required. It is critical to prepare ahead of time and to take practice shots.
Procedure
The quality of your footage may be negatively impacted by poor framing or having your camera oriented straight into the sun, even if you have all the logistics and settings planned out. It is critical to preview and test variables such as the angle and field of vision before using a camera.
Purpose
It would be best to consider the aim of your footage and how you would utilize it. It will have an impact on the amount of time between shots. A critical consideration is ensuring that you have enough pictures for the task without wasting too much time by adding images afterward.
Duration
It is also necessary to plan for a time-lapse building job. It is typical for a site to take months, if not years, to complete. When determining how long your intervals between shots will be, it is critical to consider this. If site managers anticipate that a project will go behind schedule, they may prolong the interval by a few days.
Equipment
It is essential to utilize equipment of the highest possible quality. Ensure that the camera will remain in each place for an extended period. You must ensure that the camera can withstand the elements and other variables that might interfere with its intended purpose and functionality.
Intervals
It is critical to record as much of a short time as possible. When it comes to recording intervals, your memory, and processing capacity are both restricted. You may use CamDo’s time-lapse calculator to calculate the optimum intervals for your construction photos, which will save you time and money.
Power
The kind of power source you choose will be determined by the length of time you have available and the capacity of your equipment. You may need backup power in the form of external batteries, solar power, or other external power sources in the future.
Data Storage
Because home building is a long-term effort, the data storage capacity of your camera is critical. It is critical to have dependable, readily accessible storage that can be transported along with the camera while traveling.
Best Ways to Record a Time-Lapse of House Construction
Once you have set up your camera and its location, it is time to start recording a time-lapse video. The following are some of the methods you can use to capture the entire process in a short time:
- It is suggested that you test your camera and location for at least 24 hours before starting. It will often draw attention to any issues with the camera’s composition, angle, or location.
- If a 24-hour device check is too much for you, you may do a short test to ensure that you get the desired result before proceeding.
- Maintain frequent visual inspection of your viewfinder to ensure that the picture is not distorted by shifting illumination, shifting wind, or other environmental variables.
- As a precaution, please double-check that the camera is still recording regularly or still recording according to your preferences.
- You may make changes as you are going to prevent destroying the image or starting over from the beginning. It would be best to make adjustments with the most minor movement, such as millimeters rather than inches.
- Once you have finished recording, you may edit the video using video editing software to colorize it, sharpen or blur it as desired.
Conclusion
The process of creating time-lapse movies requires considerable preparation and additional project time. If done correctly, they may be a fantastic visual feature that will make your construction film stand out from the crowd. You may also learn how to create time-lapse video sequences and use them to improve your films.
When learning how to monitor a time-lapse of your home building, the essential thing to remember is to get the help of an expert to guide you through the process. When searching for a professional to help you, you have a plethora of choices to choose from.

